
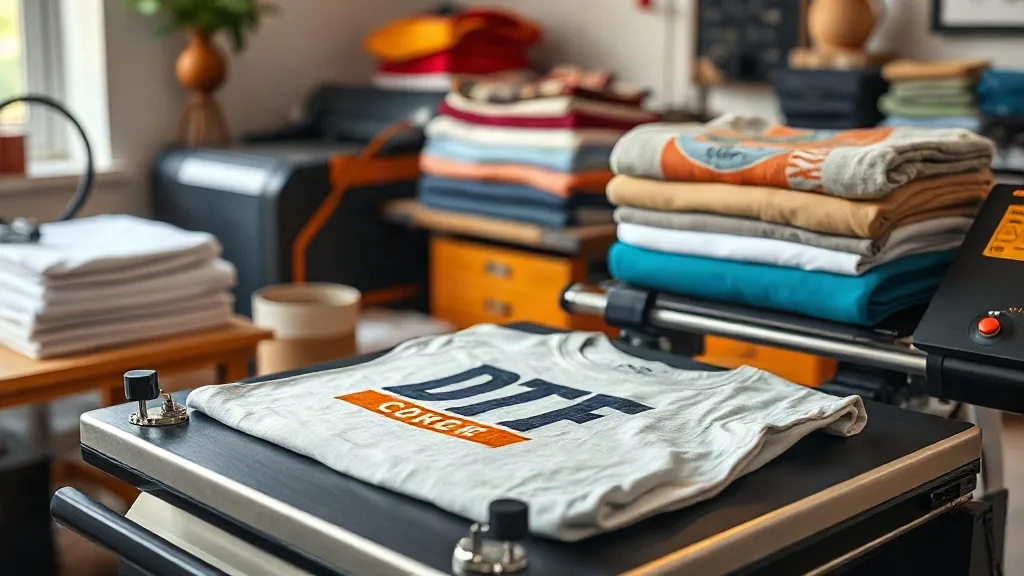
When you first start working with dtf transfers, the promise is simple: print a design, press it onto almost any fabric, and get a durable, vibrant result. But if you've spent any time in a print shop, you know that "almost any fabric" is where the challenges begin. Cotton behaves differently from polyester, blends have their own quirks, and specialty fabrics can turn a routine job into a troubleshooting session. This guide is here to help you navigate those differences so you can achieve flawless prints on every fabric that comes through your door.
We'll go beyond the basics and dig into the practical details that separate a good print from a great one. Whether you're printing on a lightweight tri-blend or a heavy canvas, the right preparation, settings, and finishing techniques make all the difference. Let's dive in.
Why Fabric Matters in DTF Printing
DTF technology is renowned for its versatility, but that doesn't mean you can treat every fabric the same. The fiber composition, weave, weight, and even color of the garment influence how the transfer adheres, how the ink cures, and how the final print feels and looks. Understanding these factors is the first step toward consistent, professional results.
At its core, DTF printing involves transferring a design printed on a special film onto fabric using heat and pressure. The adhesive powder on the film melts and bonds with the fabric fibers. Different fibers have different melting points and surface characteristics, so the bond strength and durability can vary. For example, cotton fibers are natural and porous, allowing the adhesive to penetrate deeply, while synthetic fibers like polyester are smoother and can be more challenging for the adhesive to grip.
Moreover, fabric color can affect the vibrancy of your print. DTF transfers are opaque, so they can be applied to dark garments without a white underbase, but the fabric color can still influence the final appearance, especially with lighter or more translucent designs. And let's not forget stretch: fabrics with high elasticity require the transfer to stretch with them without cracking or peeling.
So, while dtf transfers are indeed versatile, getting the best results means paying attention to the fabric you're working with. In the following sections, we'll break down the most common fabric types and share best practices for each.
Cotton: The Gold Standard for DTF
Cotton is the most forgiving fabric for DTF printing. Its natural fibers provide an excellent surface for the adhesive to bond with, resulting in strong, durable prints. Whether you're working with 100% cotton t-shirts, hoodies, or tote bags, you can expect reliable results.
However, cotton isn't without its nuances. Here are a few tips to ensure flawless prints on cotton:
- Pre-press to remove moisture: Cotton can absorb moisture from the air, which can interfere with adhesion. Always pre-press the garment for a few seconds to evaporate any lingering moisture.
- Watch out for shrinkage: Cotton can shrink when exposed to heat. If you're pressing at high temperatures, be mindful that the garment may shrink slightly. This is usually not a problem, but it's something to keep in mind for sizing.
- Use consistent pressure: Medium to firm pressure is ideal for cotton. Too little pressure and the transfer may not adhere properly; too much and you risk flattening the fabric or causing the transfer to shift.
One of the advantages of cotton is that it can handle higher temperatures, so you can often press at 320°F to 340°F (160°C to 170°C) without issues. Always refer to the transfer supplier's recommendations, but as a rule, cotton is quite tolerant.
If you're new to dtf, cotton is a great starting point to build your confidence before moving on to more challenging fabrics.
Polyester and Synthetic Blends: Navigating the Challenges
Polyester and synthetic blends are where DTF printing can get tricky. These fabrics are made from synthetic fibers that are smoother and less porous than cotton. They also have a lower melting point, which means you need to be careful with heat settings to avoid scorching or melting the fabric.
Here's what you need to know to succeed with polyester:
- Lower temperature: Reduce the press temperature to around 280°F to 300°F (140°C to 150°C) to prevent damage to the fabric. Always do a test press on a scrap piece to find the sweet spot.
- Use a pressing pillow or folded towel: Polyester can be thin and prone to seam impressions. Using a pressing pillow inside the garment helps distribute pressure evenly and avoids creases.
- Be cautious with dye migration: Polyester dyes can sublimate (turn into gas) when heated and migrate into the transfer, causing discoloration. To prevent this, choose transfers with a dye-blocking layer or use a lower temperature and shorter press time.
- Cool peel: Always wait for the transfer to cool completely before peeling the film. This allows the adhesive to set properly and prevents the design from stretching or distorting.
For blends like 50/50 cotton-poly, you can usually use settings somewhere in between, but it's best to err on the side of caution and test first. Remember, dtf transfers near me suppliers often provide specific recommendations for different fabrics, so don't hesitate to ask.
Despite the challenges, polyester and blends are excellent for sportswear and activewear because the DTF transfer stretches with the fabric. With the right technique, you can achieve vibrant, long-lasting prints that your customers will love.
Specialty Fabrics: Nylon, Canvas, and More
Beyond the common cotton and polyester, you may encounter specialty fabrics like nylon, canvas, denim, and even leather. Each has its own set of considerations.
Nylon
Nylon is a synthetic fabric with a very smooth surface, making it difficult for adhesives to bond. It also has a low melting point. To print on nylon, you'll need to use a lower temperature (around 270°F to 290°F) and possibly a special adhesive powder designed for low-energy surfaces. Some printers use a nylon bonding agent or pre-treat the fabric to improve adhesion. Always test first, as results can vary.
Canvas
Canvas is a heavy, woven fabric, often made from cotton or a cotton-poly blend. It's sturdy and can handle higher temperatures, similar to cotton. However, the rough texture can make it challenging to achieve a smooth print, especially with fine details. Use firm pressure to ensure the transfer penetrates the weave. For best results, pre-press the canvas to flatten the surface.
Denim
Denim is typically cotton, so it's quite DTF-friendly. However, the thick seams and uneven surface can cause issues. Use a pressing pillow to navigate seams and ensure even pressure. Denim can handle high heat, but be mindful of any distressing or embellishments that might be sensitive to heat.
Leather and Faux Leather
Leather is a natural material that can be sensitive to heat. Use low temperatures (around 250°F to 270°F) and short press times. Always test on a small area first. Faux leather (polyurethane) is even more heat-sensitive and may require special low-temperature transfers. In some cases, leather may not be suitable for DTF at all, so consider alternative decoration methods.
When in doubt, consult the fabric manufacturer's care instructions and do a test press on a hidden area. And remember, dtf transfers near me suppliers can often provide guidance on specialty fabrics based on their experience.
Preparing Fabrics for DTF Printing
Proper fabric preparation is crucial for achieving flawless DTF prints. Here's a step-by-step guide to get your garments ready:
- Pre-shrink if necessary: If you're working with cotton or other fabrics prone to shrinkage, pre-wash and dry the garment before printing. This minimizes shrinkage after the print is applied.
- Remove wrinkles: Wrinkles can cause uneven pressure and lead to poor adhesion. Use a heat press or iron to smooth the fabric before pressing the transfer.
- Eliminate moisture: Pre-press the garment for 5-10 seconds to remove any moisture. This is especially important for cotton, which absorbs humidity from the air.
- Use a lint roller: Remove any lint, dust, or loose fibers from the surface. These can get trapped under the transfer and affect adhesion.
- Position with care: Place the transfer exactly where you want it. Once pressed, it's difficult to reposition without damaging the fabric or the transfer.
Taking these steps will set you up for success and reduce the likelihood of common problems like peeling, cracking, or uneven prints.
DTF Transfer Application: Settings and Techniques
Now that your fabric is prepped, it's time to apply the transfer. The settings you use will depend on the fabric, the transfer film, and your heat press. Here are some general guidelines:
- Temperature: As a starting point, use 300°F to 320°F (150°C to 160°C) for cotton, and lower for polyester (280°F to 300°F). Always check the transfer supplier's recommendations.
- Pressure: Medium to firm pressure is typically used. Too little pressure results in poor adhesion; too much can cause the transfer to spread or the fabric to scorch.
- Time: Press for 10-15 seconds. Some transfers may require a few extra seconds, especially on heavier fabrics.
- Peel: Most DTF transfers are cool peel, meaning you wait for the transfer to cool completely before removing the film. This allows the adhesive to set and prevents distortion.
It's always a good idea to do a test press on a scrap piece of the same fabric to dial in your settings. Keep a log of your settings for different fabrics and transfer types so you can replicate success.
Additionally, consider using a Teflon sheet or parchment paper over the transfer to protect it from direct heat and prevent sticking. And make sure your heat press is calibrated; an inaccurate temperature reading can ruin a whole batch.
Troubleshooting Common DTF Issues on Different Fabrics
Even with the best preparation, issues can arise. Here are some common problems and how to fix them:
- Peeling: If the transfer peels after washing, it's likely due to insufficient pressure, incorrect temperature, or moisture in the fabric. Re-press with higher pressure or temperature, and ensure the fabric is dry before printing.
- Cracking: Cracking can occur if the transfer is stretched too much during application or if the fabric has high stretch and the transfer isn't elastic enough. Use a transfer designed for stretch fabrics and avoid over-stretching during pressing.
- Discoloration: On polyester, dye migration can cause the transfer to take on a yellowish or pinkish hue. Use dye-blocking transfers or lower the temperature.
- Incomplete adhesion: If parts of the transfer don't stick, it may be due to uneven pressure, wrinkles in the fabric, or a cold spot on the press. Check your press for even pressure and pre-press the fabric to remove wrinkles.
For more detailed troubleshooting, refer to the resources provided by your dtf transfers near me supplier or consult online forums where experienced printers share their solutions.
Ensuring Durability and Washability
One of the key selling points of DTF transfers is their durability. When applied correctly, they can withstand numerous washes without fading or peeling. To maximize longevity:
- Wash inside out: Turn the garment inside out before washing to reduce abrasion on the print.
- Use cold water: Hot water can weaken the adhesive and cause the transfer to lift. Wash in cold water.
- Avoid harsh detergents: Use mild detergent and avoid bleach and fabric softeners, which can degrade the adhesive.
- Tumble dry low or hang dry: High heat in the dryer can damage the transfer. Air drying is best, but if using a dryer, use low heat.
- Wait before washing: Allow the transfer to cure for at least 24 hours before washing to ensure maximum bond strength.
By following these care instructions, your customers will enjoy their custom apparel for years to come.
Frequently Asked Questions
Can I use DTF transfers on 100% polyester?
Yes, but you need to use lower temperatures (around 280°F to 300°F) and be mindful of dye migration. Test on a scrap piece first, and consider using a dye-blocking transfer if you're printing light colors on dark polyester.
How do I prevent the transfer from peeling after washing?
Peeling usually indicates insufficient adhesion. Make sure you're using the correct temperature and pressure for the fabric, pre-press to remove moisture, and allow the transfer to cool completely before peeling. Also, wait 24 hours before washing.
What's the best way to store DTF transfers before use?
Store DTF transfers in a cool, dry place away from direct sunlight. Keep them flat or rolled (not folded) to prevent creasing. Avoid high humidity, which can affect the adhesive powder.
Can I stretch a DTF transfer after application?
DTF transfers have some elasticity, but stretching beyond their limit can cause cracking. If you need extreme stretch, consider using a transfer designed for stretch fabrics or a different decoration method like screen printing with stretch additive.
How do I choose the right DTF transfer supplier?
Look for a supplier that offers consistent quality, provides detailed instructions and support, and has a quick turnaround. Reading reviews and requesting samples can help you make an informed decision. If you're searching for dtf transfers near me, consider both local and online options to find the best fit for your shop.
Mastering DTF transfers on any fabric takes practice and attention to detail, but with these tips, you'll be well on your way to flawless prints that impress your customers and boost your bottom line.